Engine Modifications
This truck began life as a clean slate. although equipped with a 3.9L (239ci) V6, I have undertaken a project focused on raising the horsepower level on this truck to rival that of a mildly modified 5.9L V8 powered R/T. Most of the required modifications have been done, however, the more intense/costly/hard modifications have not been performed yet.
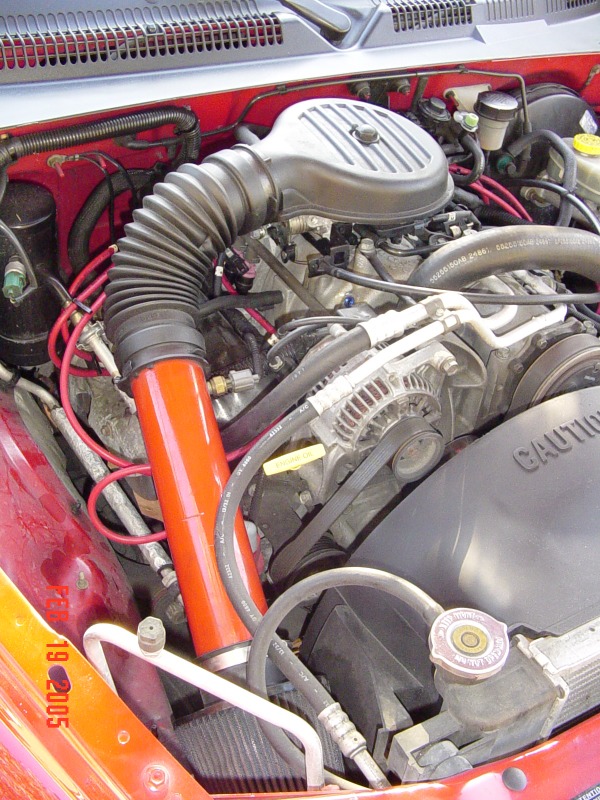
Cold Air Intake
The first modification anyone should make to their engine is to equip it with a cold air intake. The reason for this is simple: your engine is essentially a very high-powered air pump. Thus, the easier you get air into the engine, the more power it will make.
This is a very simple modification, involving about a foot of exhaust piping (go to your local muffler shop and ask them for a one-foot section of 3" exhaust piping). You can get this pipe for free, just ask for some piping out of the "trash" pile. Then simply mate it with a K&N Cone filter and attach it back up to the airhat as you see here. If you want, splurge and get a rubber intake elbow.
IAT Relocation
To take the intake to the next level, I recommend you move the Intake Air Temperature (IAT) sensor. Move it from the original position in the intake manifold to a position in the CAI you already made. What this does is reduce the air temperature the PCM reads, increasing the amount of fuel that is introduced into the mixture to compensate for the colder/denser air. This, in turn, leads to more power being generated.
To do this, work on a cold engine. Take an adjustable wrench and move the sensor's bolt mechanism a quarter-turn, then adjust. This will take a while. Then close off the IAT port in the intake manifold using a 1/4" NPT Plug (just so you understand, what is 1/4" is not the plug itself - that's 1/2" - it is the connector that is 1/4"). To do this, I recommend buying a 1/4" driver for a socket wrench (I used a larger socket driver from the set to tighten the bolts on the Hurst Shifter, so this is a good purchase).
Third, put the IAT Sensor into the CAI. This isn't easy , but it isn't very hard. Understand that the "bolt" on the sensor has a 1/2" thread, you must buy a 1/2" bit, made to fit in a 3/8" chuck. All you really need is a 1/4" hole (as a pilot hole) and the 1/2" bit as a chaser.
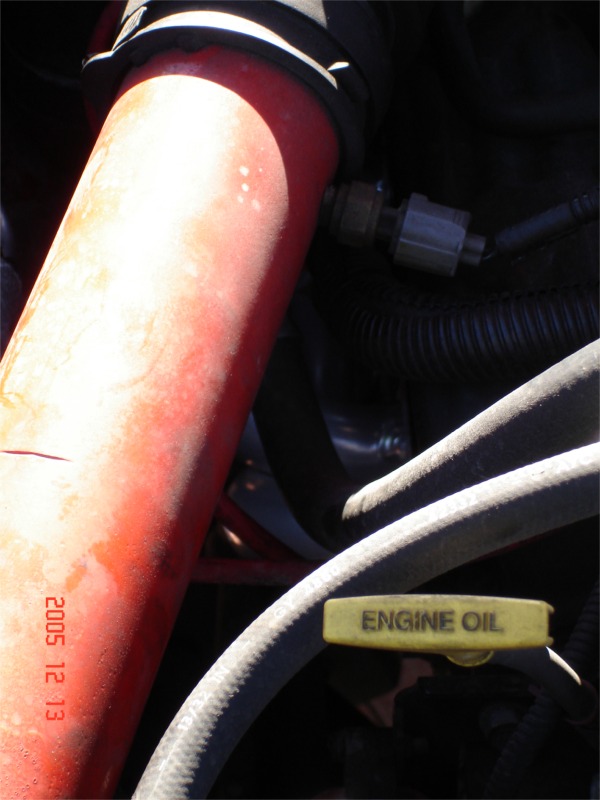
Once that is done, then you have a couple of choices: you can just use the pipe as-is, or shoot it with paint. I shot mine with "Chrysler Industrial Red" from Duplicolor's Engine Paint series.
Finally, you are ready to install the IAT. By the way, driving around without the sensor will throw a code (giving you a check engine light). To install the sensor, you must screw it into the hole you have made. Now, because the tube is made of steel and has been painted over, it may be difficult to insert it. However, it will fit. You may need to tap the hole (you'll have to buy a tap for that), but I didn't find that necessary. Instead, what I did was just press it in. Once the sensor bites in, you can screw it in with the adjustable wrench you used to remove the sensor.
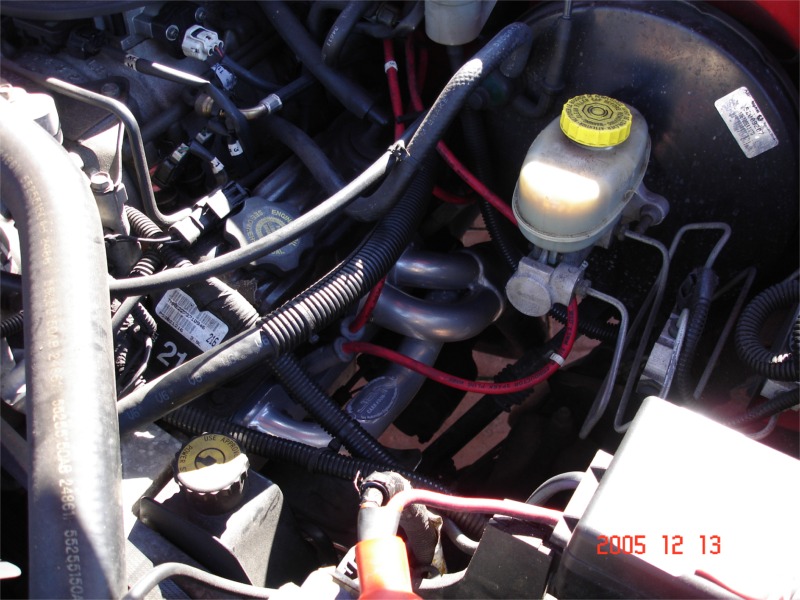
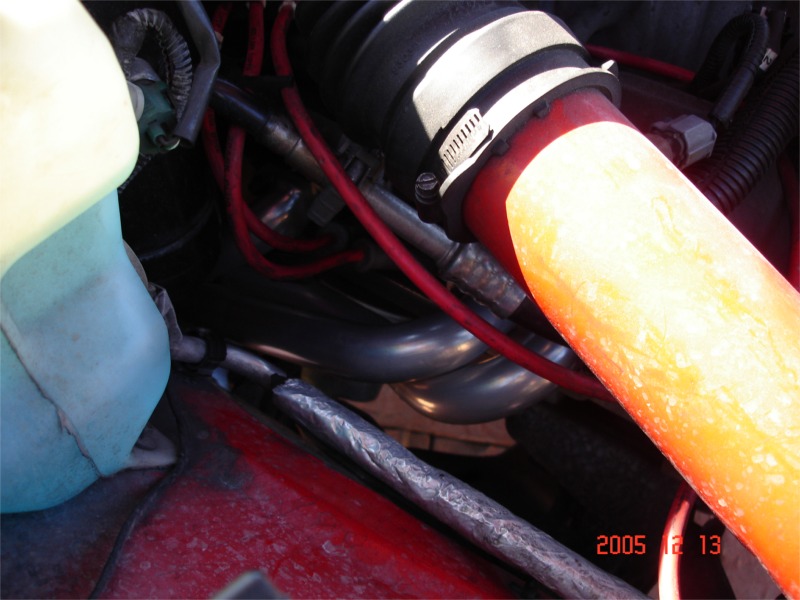
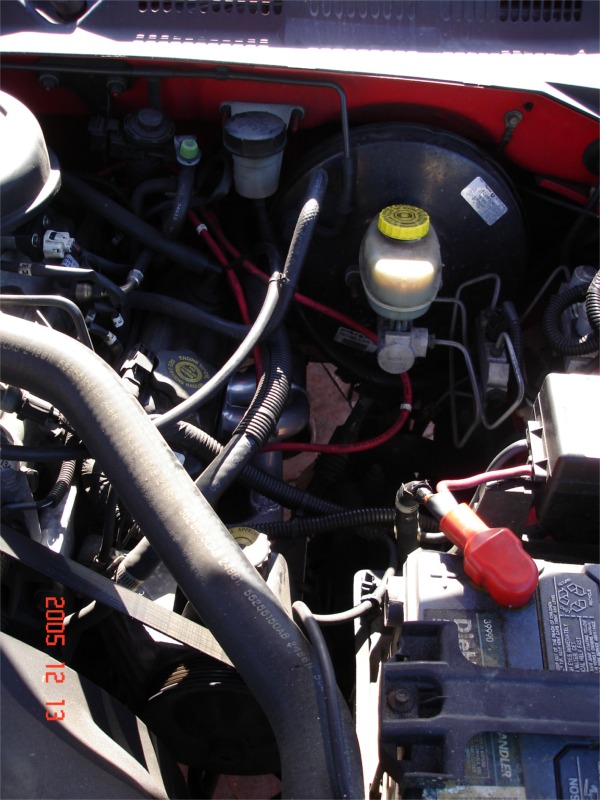
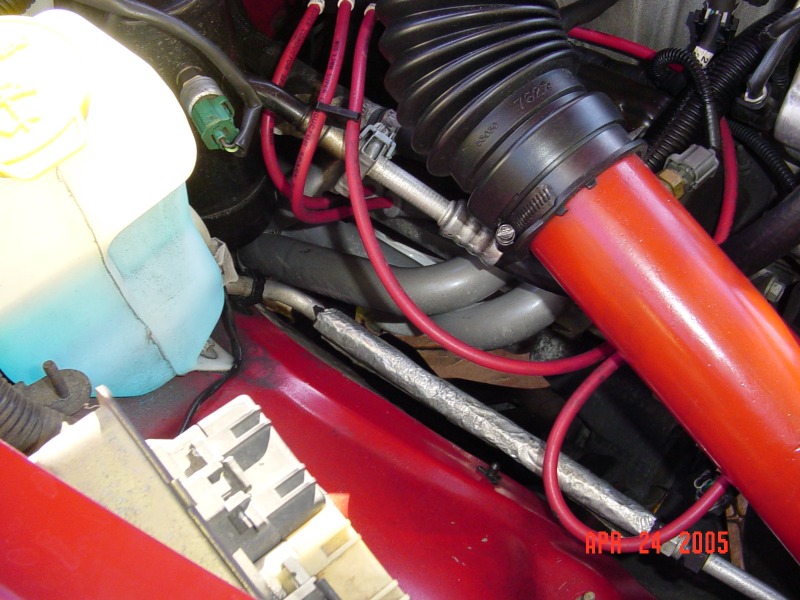
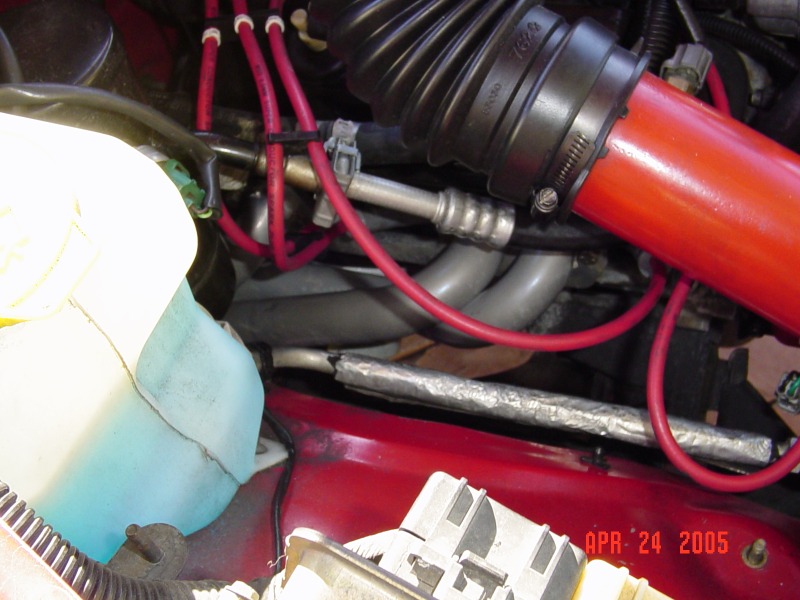
The last thing to do is to reconnect the wire (the sensor shouldn't be positioned too far from the stock location, unless you are willing to splice the wires to extend the sensor's range of length), and connect the intake back to the TB hat. What I ended up doing was reusing the hat and accordion tube, then positioning the tube next to the radiator. On a stock vehicle, there is a barrier here, which is made of a composite material (I don't know what it is). As you can see, I removed it, which has created no problems, and has lowered the temperature inside the engine bay, along with giving the intake a cool blast of air.
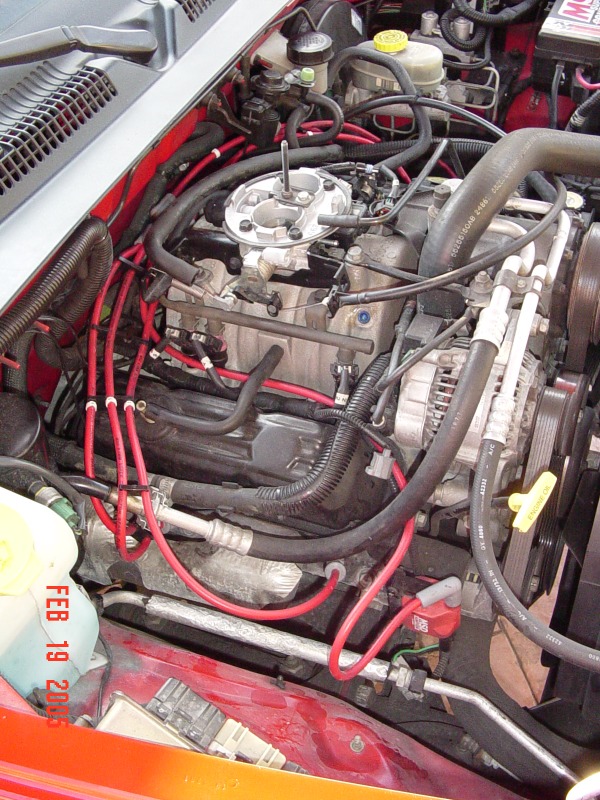
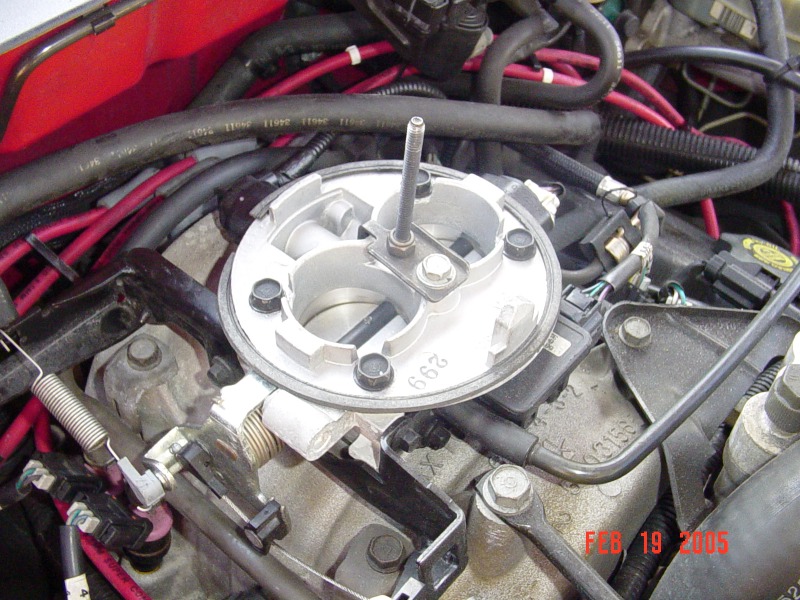
V8 Throttle Body
A V8 Throttle Body is a great modification for a stock or mildly modified Magnum V6 engine. The Magnum V8 TB has an outside bore of 50mm, with a venturi down to 48mm. Comparing that to the Magnum V6's 42-46mm intake, you can see why it makes such a big difference.
I took my TB to my mechanic to install, so I don't have much of a write up on how to install it, but I know what you need:
V8 TB
V8 TB Throttle Cable
The reason why you will need the cable is because unless you get a 92-93 V8 throttle body, the V6 and V8 TB's used different throttle cables. Thus, you're going to need to run the V8 cable from the accelerator to the TB. Your best bet is to use the cable corresponding to the TB you use (if you use a throttle body off a 95 V8, then get a 95 cable).
Headers
Installing headers on a Magnum engine is not a difficult thing, however, there are several things that may get in the way, which you will have to consider.
First, make sure that the manifold bolts are not stuck inside the heads. This was the only major problem that I encountered during my installation. As a result, I was forced to have my mechanic pull the bolts out (there were two broken bolts, and one that was stuck). Be sure to have those bolts fully removed and the holes checked to make sure there has been no damage to them before proceeding. If the bolt holes are damaged, you will have to have the bolt holes enlarged to the next size up (3/8), and use different bolts.
The next issue is to make sure you have all the necessary components. In order to install the headers, make sure you have the necessary installation bolts (they are 5/16x1" for the Magnum engine, as opposed to 5/16x.75" for the older LA-series engines). Next, make sure you have exhaust gaskets. Since the headers I got were used, I had to order a set of gaskets. I went with Mr. Gasket Ultra-Seals from SummitRacing (P# 5949), however, those gaskets are made for the Magnum V8 engine, and need to be cut around the back to ensure a proper fit. You can also go with a set of FelPro Exhaust Manifold gaskets (P# MS95463). These are not available through SummitRacing, but are probably available at your local parts store, or direct from FelPro. They run under $11 for the set.
Since I bought these headers used, I also had to get the necessary mounting hardware, so off I went to Home Depot, and bought some Grade 8 bolts. The headers require 8 bolts (4 per side), along with lock washers for each bolt. I also replaced the bolts attaching the headers to the Y-Pipe (which I also replaced with Grade 8 bolts and nuts). A word of warning is required here, as the Home Depot bolts are not a direct replacement. In fact, if you don't have a set of swiveling attachments for your socket wrench, or some short wrenches to reach the middle bolts. If you have a problem doing this, I recommend Breslin or Stage 8 locking bolts, as they have a smaller head, and allow the use of shorter, smaller wrenches to do the work.
Here are pictures of the headers installed on the truck.
Driver's Side Header
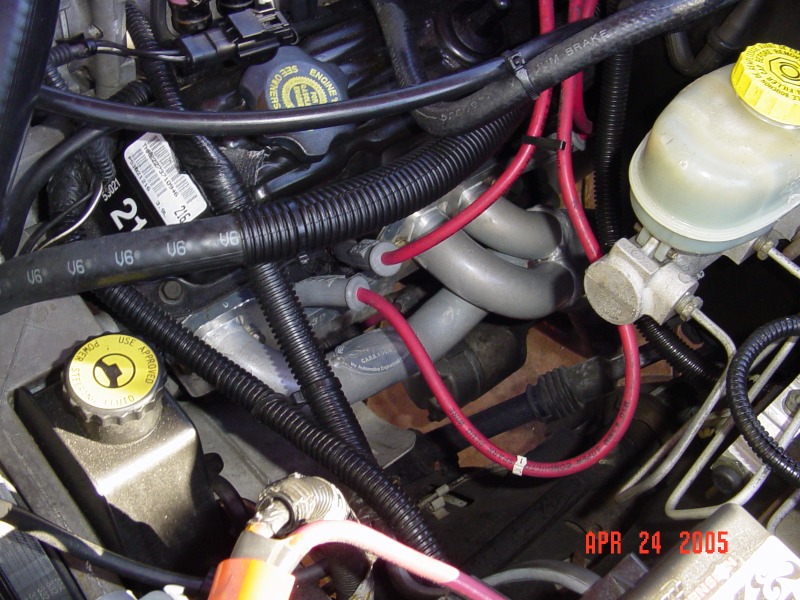
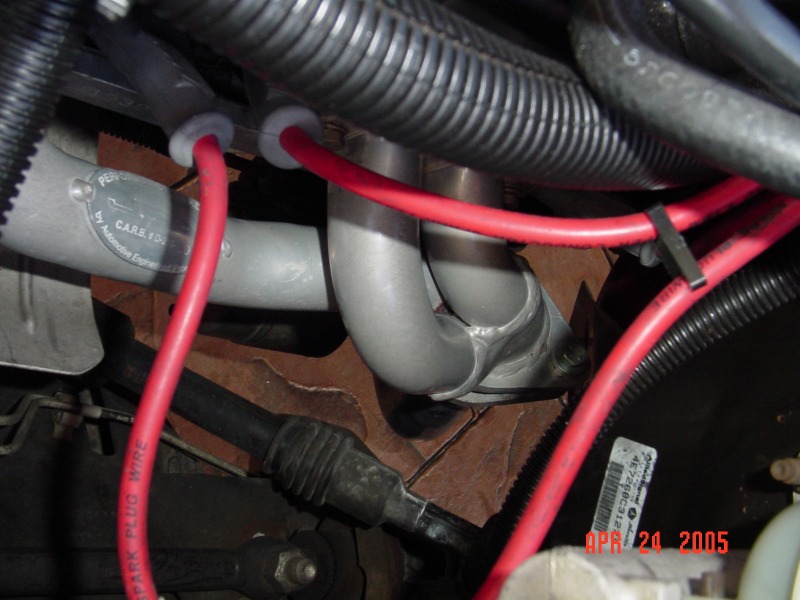
Passenger's Side
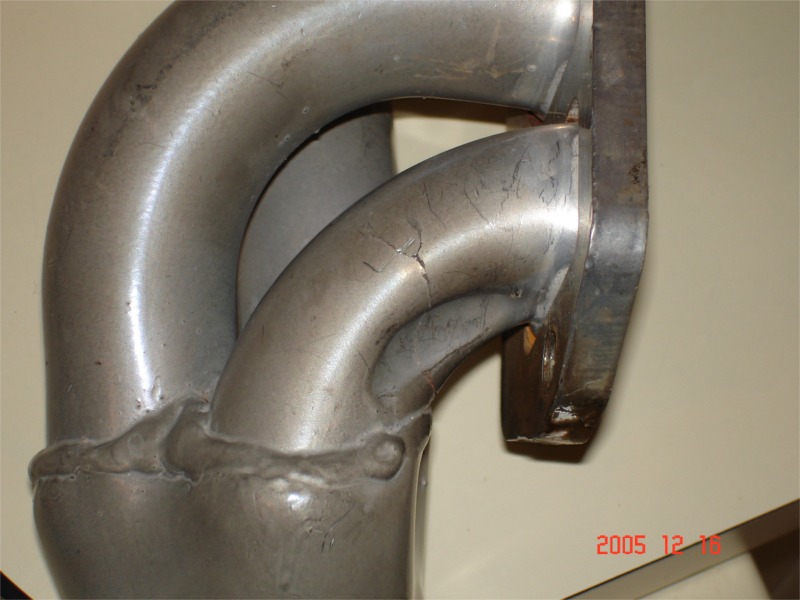
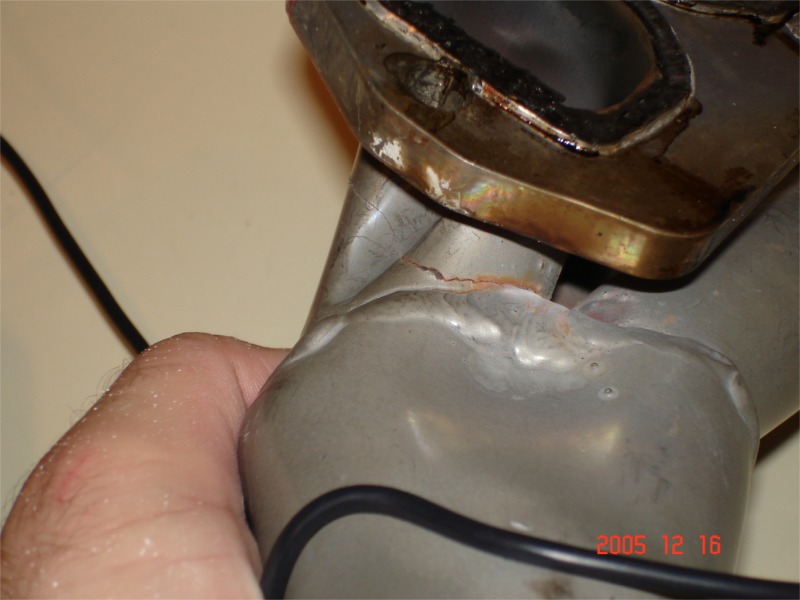
Update on the Headers - 11/21/2005
Well, as I had mentioned above, the headers I purchased were used. Well, as the story goes, the headers were cracked. Originally, there was only a small crack on them, which resulted in a small leak. Well, things have gotten "out of control" and I had to order a new set from SummitRacing. They should be here any day now, so I will have new pictures up for the website when they come in.
Update on the Headers - 12/15/2005
After much delay, SummitRacing got the headers to me earlier this month. Due to time constraints, I wasn't able to get them installed until last week, and haven't posted an update in a while, so here you go. These headers are performing MUCH better than the previous ones. I have yet to hear an exhaust leak from them, and I hope it stays that way. Below, you will see some pictures of the headers as they were installed on the truck. You may also notice that I'm no longer running grade 8 bolts on the headers. This is because I also purchased a set of Breslin locking header bolts (a link is on the front page), which virtually eliminate the possibility of a leaking header, since the bolts are locked in place.